Once I had finished modelling the body, arms, legs and zip of the character it was now time to start working on the face of the character.
Below are the screenshots of the character as it sits now:
Tuesday, 11 March 2014
Tuesday, 4 March 2014
Week 19 - Texture Tutorial
Over the past few weeks, both outside of the lesson and in the lessons with the tutor, we have been focusing on improving and working on the development of our Inspirational Model piece.
Here is the UV layout that the tutor gave us, our goal was to create a basic rock texture around this 'underwater' rock.

We then created a base rock texture for the object, we did this by duplicating the base texture and removing the seams between the materials.

We the started to add on detail to the surface of the rock. We used a porous material provided in the shared files. Once we had positioned the material where we wanted, we then changed the layer to 'soft light' to get that faded appeal, making the material look like it belongs. We then went through removing any hard edges left.

Once the porous texture was done it was then a case of creating the streaks seen at the bottom, the streaks were to simulate the effect that water takes on a rock over the years as it brushes past.
The process for the streaks was the same as the porous material.

This is the raw texture that I created during the tutorial without the UV's.
However, this week the tutor ran a tutorial session on texturing skills within Photoshop. This lesson was a massive help as we have other projects; like this one, that involves lots of texturing inside of Photoshop and working with UV's.
He began by uploading the files we needed for the tutorial to the shared folder on the computers, he then went through and showed up different techniques in painting an organic object.
Below are images taken from my work:
Here is the UV layout that the tutor gave us, our goal was to create a basic rock texture around this 'underwater' rock.

We then created a base rock texture for the object, we did this by duplicating the base texture and removing the seams between the materials.

We the started to add on detail to the surface of the rock. We used a porous material provided in the shared files. Once we had positioned the material where we wanted, we then changed the layer to 'soft light' to get that faded appeal, making the material look like it belongs. We then went through removing any hard edges left.

Once the porous texture was done it was then a case of creating the streaks seen at the bottom, the streaks were to simulate the effect that water takes on a rock over the years as it brushes past.
The process for the streaks was the same as the porous material.

This is the raw texture that I created during the tutorial without the UV's.
Tuesday, 25 February 2014
Inspirational Model Update - The Pinch Problem
As, now, I am pretty much finishing with the modelling process of my Inspirational Model, I am at the stage of doing final checks of the model, making sure the polys run smoothly and are creating what I actually want with this project.
Whilst I was checking the body of the model I noticed a strange 'pinching' effect towards the bottom, as illustrated in the screenshot below.
Not only does this not look appealing on the model but also I could affect the textures when I come to add them to the model, it could distort or stretch the textures; ruining the model.
I believe this is caused by the turbo smooth that I added to the model to create the smooth flowing polys.
To overcome this problem I began by deleting the 'Turbo smooth' modifier that was applied to the model. This instantly got rid of the pinch but the model now looked rough and low poly. I then tidied up the bottom part of the body by re- shaping the polys around that are. Once this had been taken care of I then went through the body section, applying smoothing groups to the surfaces, which created the same type of smoothness from the turbo smooth but didn't create that pinch effect at the bottom.
Below are images of the new and improved body of the Inspirational Model:
Whilst I was checking the body of the model I noticed a strange 'pinching' effect towards the bottom, as illustrated in the screenshot below.
I believe this is caused by the turbo smooth that I added to the model to create the smooth flowing polys.
To overcome this problem I began by deleting the 'Turbo smooth' modifier that was applied to the model. This instantly got rid of the pinch but the model now looked rough and low poly. I then tidied up the bottom part of the body by re- shaping the polys around that are. Once this had been taken care of I then went through the body section, applying smoothing groups to the surfaces, which created the same type of smoothness from the turbo smooth but didn't create that pinch effect at the bottom.
Below are images of the new and improved body of the Inspirational Model:
Tuesday, 4 February 2014
Inspirational Model Update - Low Poly Arm Model
The next step for my inspirational model was to model the arm.
The images coming up below are of the low poly version of my model.
Once the character has been blocked in I will go back through the model and add more edges, giving the model a smoother flow and look to it.
The images coming up below are of the low poly version of my model.
Once the character has been blocked in I will go back through the model and add more edges, giving the model a smoother flow and look to it.
Tuesday, 28 January 2014
Week 14 - Photoshop matte painting drill
During the session this week the tutor set a 45 minute Photoshop drill.
The drill involved us using our sketches that we did in the drill last lesson and incorporating it into anything that we wished.
Below is my final product after the 45 minute drill:
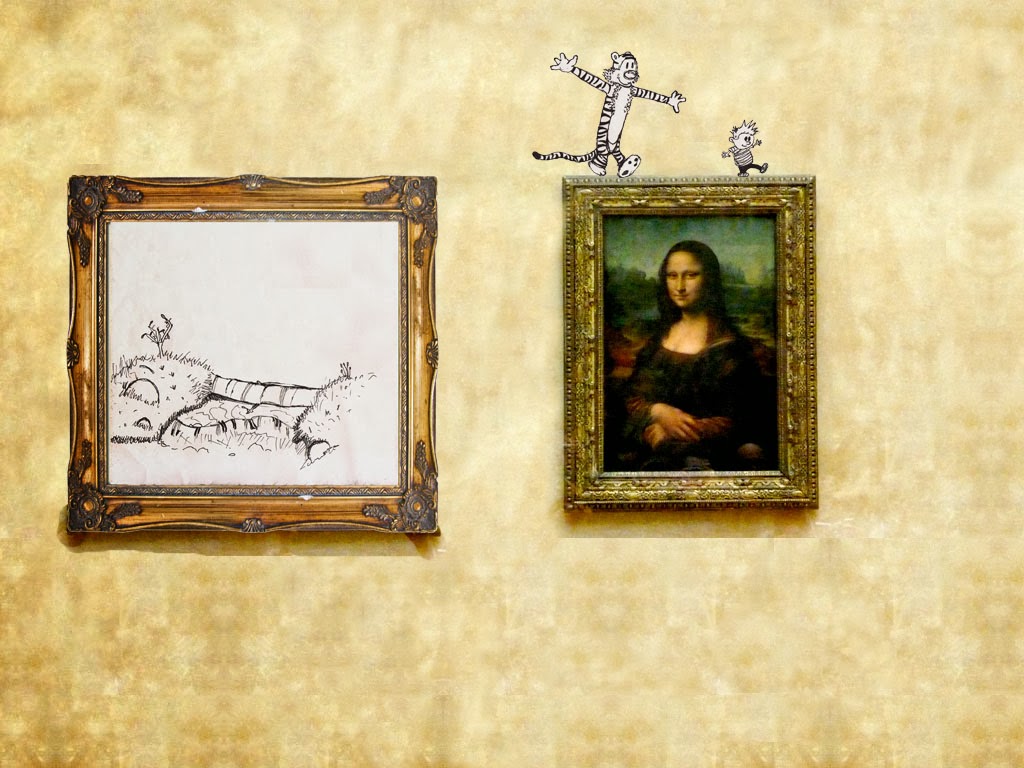
If I had just a little bit more time I would of liked to incorporate the title of my Photoshop matte piece 'On a walk' .... I tried to create the illusion that the sketched characters had 'come to life' and went for a walk across the other paintings.
Below are several images with annotation to describe my process of creating the final Photoshop matte painting piece.
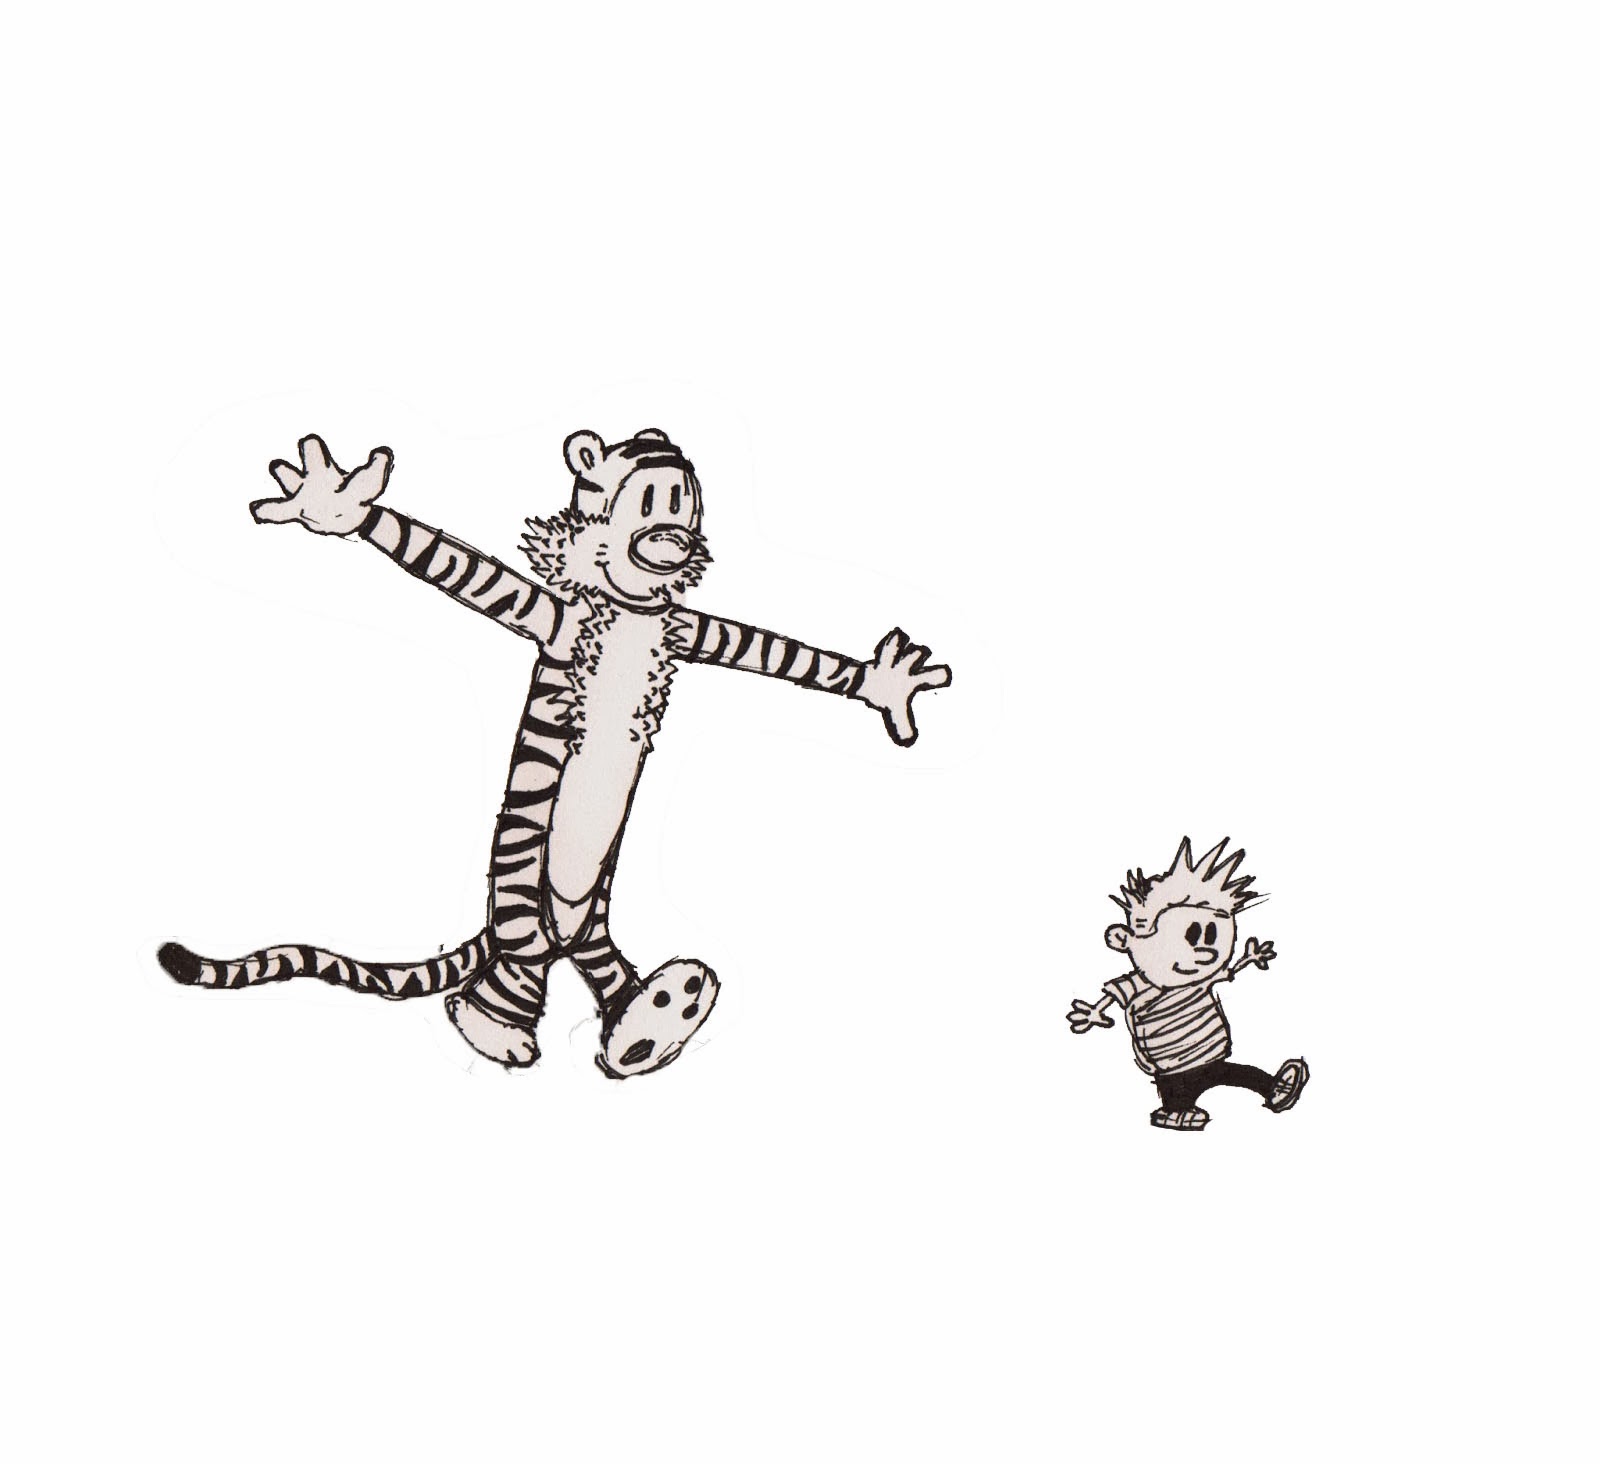
I began by working on the original sketch that I had scanned into the computer, I needed to remove the two signatures from other students, so I used the healing brush tool to cover them.
Then I needed to remove the characters, so with the sketch layer selected in Photoshop I took a copy of just the individual characters by using the lasso tool.
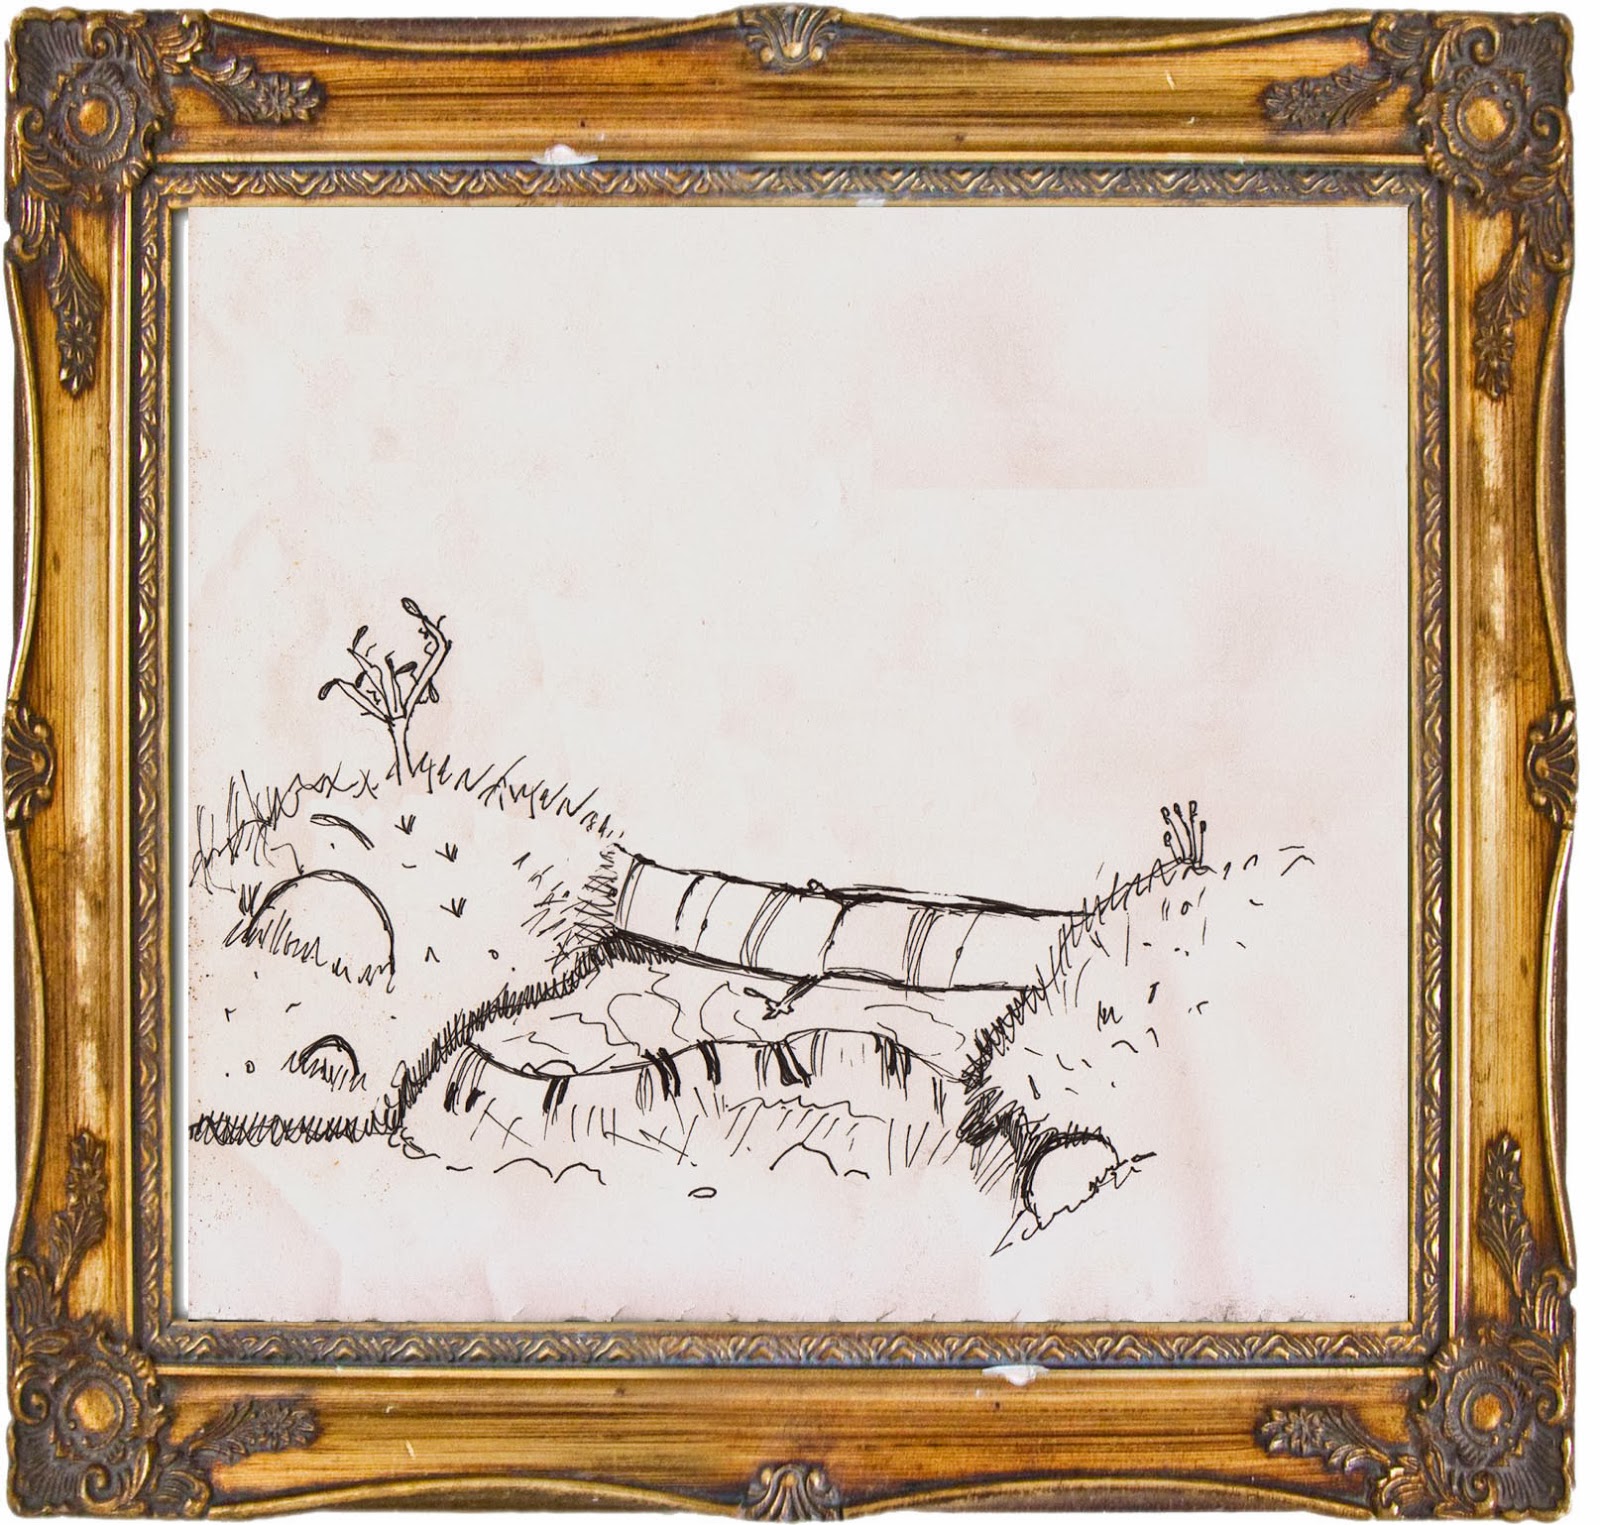
Then to remove the characters from the sketch scene I needed to use the clone tool to 'rub' them out but at the same time replace them with the paper background of the sketch.
I then used the clone tool to replace the gaps in the sketch from the character's feet with grass, so that the sketch looked believable.
Once I had separated the characters and placed them in another file within Photoshop, I could then go through and remove the background to just leave them.
To do this I used the magic wand tool to delete the background surrounding the characters .
Once they had been separated it was just a case of fitting the 'new' edited sketch into the frame that I had selected.
Simple scaling and reshaping of the frame made this process easy.
The drill involved us using our sketches that we did in the drill last lesson and incorporating it into anything that we wished.
Below is my final product after the 45 minute drill:

If I had just a little bit more time I would of liked to incorporate the title of my Photoshop matte piece 'On a walk' .... I tried to create the illusion that the sketched characters had 'come to life' and went for a walk across the other paintings.
Below are several images with annotation to describe my process of creating the final Photoshop matte painting piece.

I began by working on the original sketch that I had scanned into the computer, I needed to remove the two signatures from other students, so I used the healing brush tool to cover them.
Then I needed to remove the characters, so with the sketch layer selected in Photoshop I took a copy of just the individual characters by using the lasso tool.
Then to remove the characters from the sketch scene I needed to use the clone tool to 'rub' them out but at the same time replace them with the paper background of the sketch.I then used the clone tool to replace the gaps in the sketch from the character's feet with grass, so that the sketch looked believable.
Once I had separated the characters and placed them in another file within Photoshop, I could then go through and remove the background to just leave them.
To do this I used the magic wand tool to delete the background surrounding the characters .
Once they had been separated it was just a case of fitting the 'new' edited sketch into the frame that I had selected.
Simple scaling and reshaping of the frame made this process easy.
Thursday, 23 January 2014
Inspirational Model Update - Modelling the Zip
This is a blog update showing my current process with the model.

Here is a distance shot of the character as it stands, I have changed the colour of the zip itself and the teeth of the zip just to help pull it away from the rest of the model making it easier to see and evaluate.
I started by looking into the most common types of zips that are seen on clothing and what actual style of zip is used on the sack boy model. I then free handed the design and model, eyeing up the positioning and scale.

Here is a close up of the zip and the teeth that I will be using on the model. The majority of the zip model is made up of primitive shapes that have been tweaked slightly to create the shape of the zip that I wanted.
The next step for the model will be to create the arms. Once the arms have been modeled and placed the overall shape of the character will be finished, leaving the final details in the face and any tears in the character's body, legs or arms.

Here is a distance shot of the character as it stands, I have changed the colour of the zip itself and the teeth of the zip just to help pull it away from the rest of the model making it easier to see and evaluate.
I started by looking into the most common types of zips that are seen on clothing and what actual style of zip is used on the sack boy model. I then free handed the design and model, eyeing up the positioning and scale.

Here is a close up of the zip and the teeth that I will be using on the model. The majority of the zip model is made up of primitive shapes that have been tweaked slightly to create the shape of the zip that I wanted.
The next step for the model will be to create the arms. Once the arms have been modeled and placed the overall shape of the character will be finished, leaving the final details in the face and any tears in the character's body, legs or arms.
Week 13 - Sketch Drill
This week the tutor gave us a 45 minute sketching drill.
This was the original piece of art work:
After the 45 minutes were up this is what I had done:
After the 45 minute sketch the tutor told us to show our work to two other students in the lesson to; one, acknowledge that we had in fact done the sketch, and secondly, to kind of present our work in a quick way to other people to build up our confidence up when showing work.
Also during the 45 minute sketch drill the tutor walked around the class room and watched over our shoulder whilst we were sketching, this was to create an actual working environment for our industry. As, from what the tutor told us, there will be people (our superiors) looking over our shoulder whilst we work.
Overall I am very pleased with my final sketch. There are areas that could be increased, for example, the proportioning and placement of the two character (tiger and the child). However, as I can step back from my work, look at it and evaluate the sketch as a whole; picking out the negatives and critically evaluating myself, shows that I am starting to understand more about traditional art, and therefore how I can help myself to improve.
Subscribe to:
Posts (Atom)


