The drill involved us using our sketches that we did in the drill last lesson and incorporating it into anything that we wished.
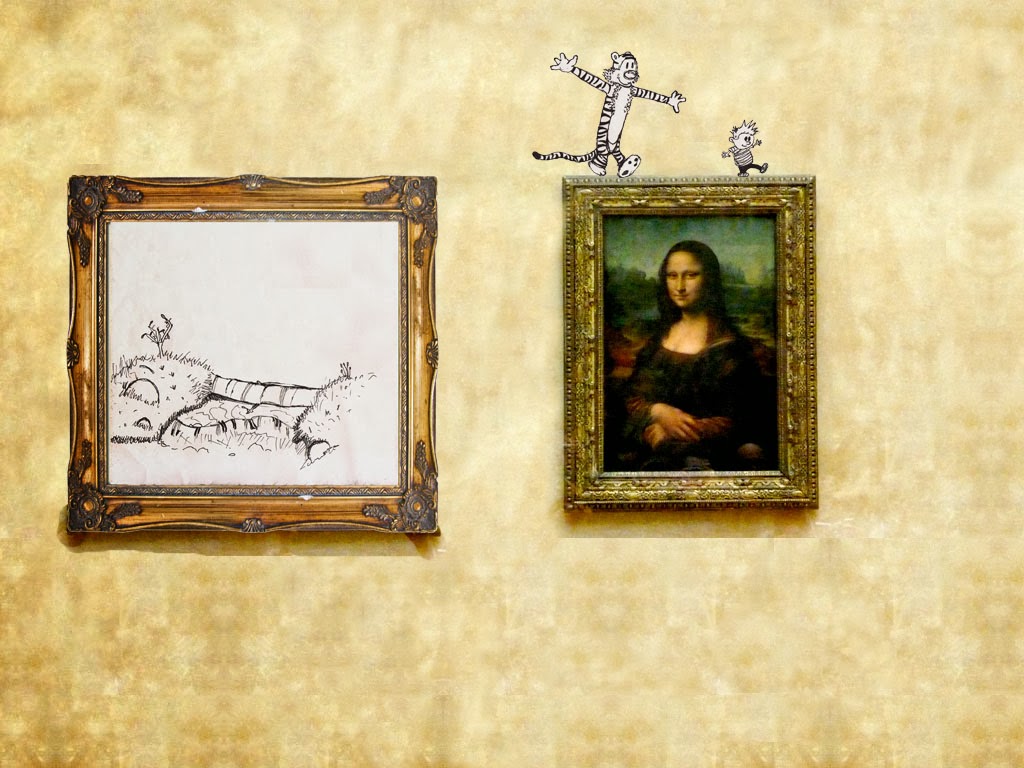
Below is my final product after the 45 minute drill:

If I had just a little bit more time I would of liked to incorporate the title of my Photoshop matte piece 'On a walk' .... I tried to create the illusion that the sketched characters had 'come to life' and went for a walk across the other paintings.
Below are several images with annotation to describe my process of creating the final Photoshop matte painting piece.

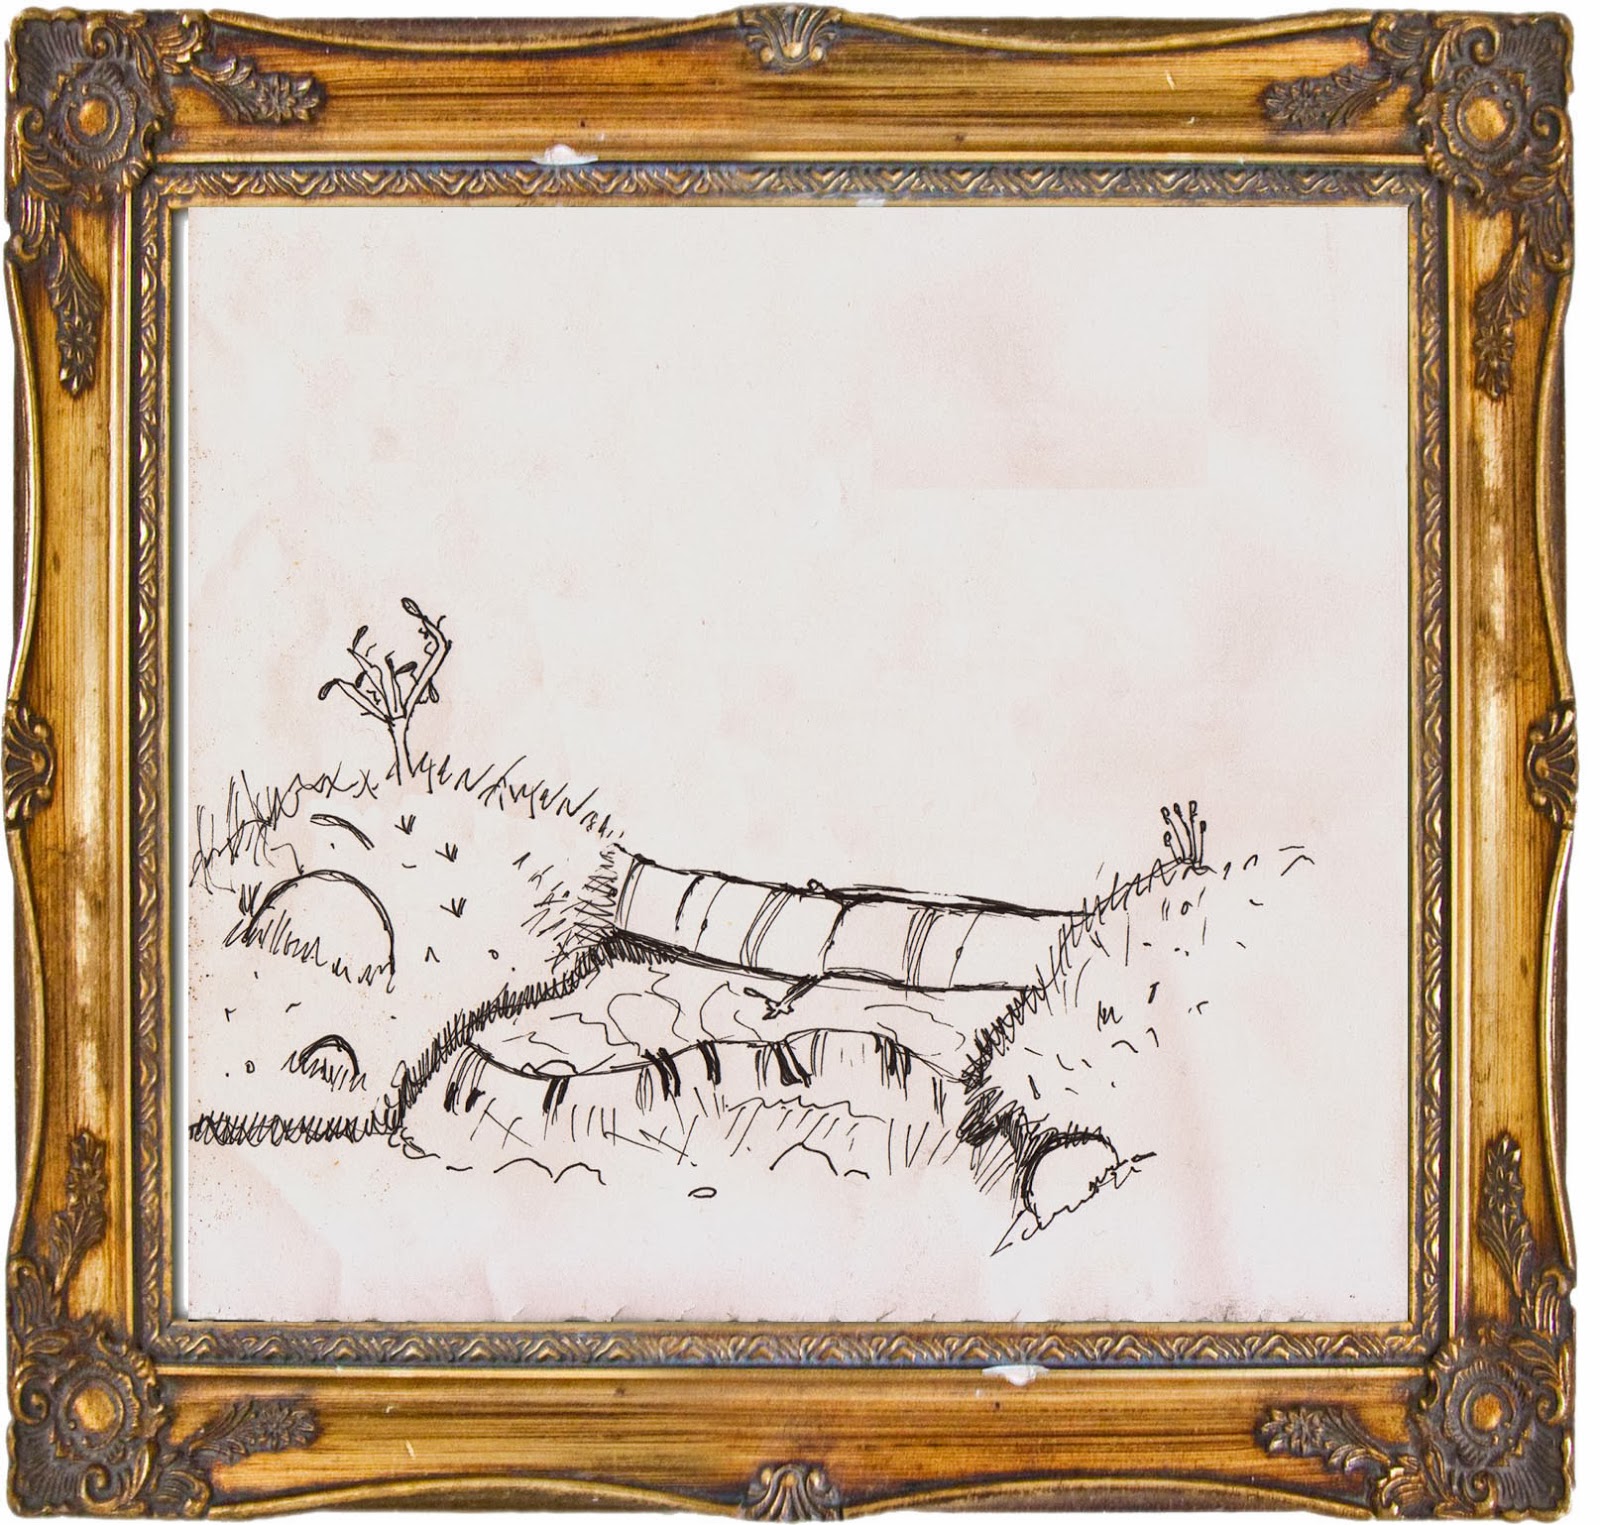
I began by working on the original sketch that I had scanned into the computer, I needed to remove the two signatures from other students, so I used the healing brush tool to cover them.
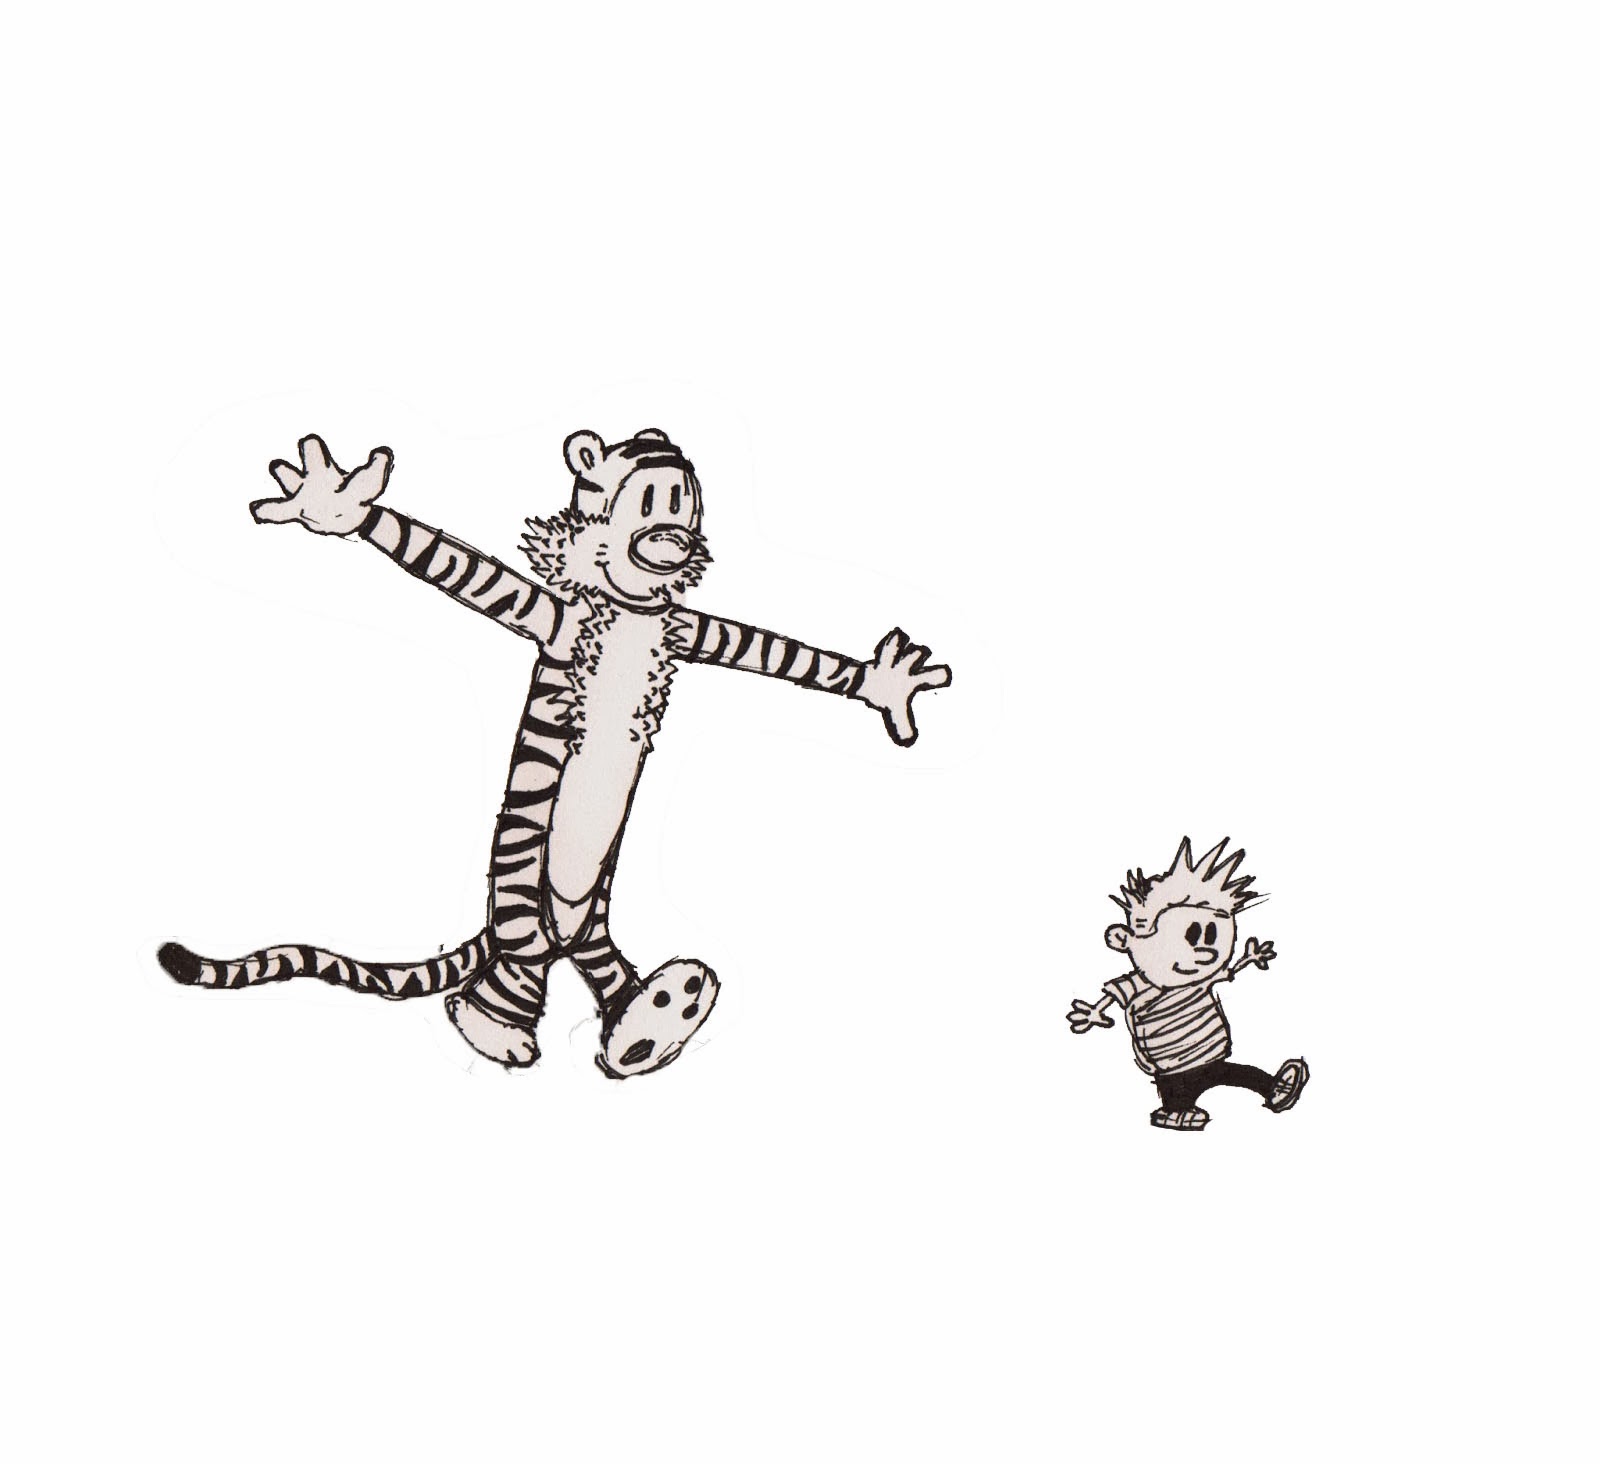
Then I needed to remove the characters, so with the sketch layer selected in Photoshop I took a copy of just the individual characters by using the lasso tool.
 Then to remove the characters from the sketch scene I needed to use the clone tool to 'rub' them out but at the same time replace them with the paper background of the sketch.
I then used the clone tool to replace the gaps in the sketch from the character's feet with grass, so that the sketch looked believable.
Once I had separated the characters and placed them in another file within Photoshop, I could then go through and remove the background to just leave them.
To do this I used the magic wand tool to delete the background surrounding the characters .
Once they had been separated it was just a case of fitting the 'new' edited sketch into the frame that I had selected.
Simple scaling and reshaping of the frame made this process easy.


